


How to Replace a Car Bumper: Step-by-Step Guide
Though cars have strong construction and a durable body, the possibility of denting cannot be ignored. Even with minor hits, the auto bumper gets a dump. The front bumper is the place where dents are quite frequent. Keep in mind that frequent dents on the car bumper would eventually call for a bumper replacement.
Don't stress out! Replacing a car bumper is easier than you think (it's one of the easiest mechanic jobs). So, if you have basic tech knowledge, let's start it. Even if you don't get this, we are here to assist you.
Tools to Gather For this Job
Don't just get up and start replacing the auto bumper. First, you have to make sure to keep the tools in hand, or you will have to leave work mid-way. Here is what you need to get started;
● Screwdriver
● Trim removal tools
● Jack stands
● Safety gloves
● Safety glasses
● Replacement car bumper
● Socket wrench set
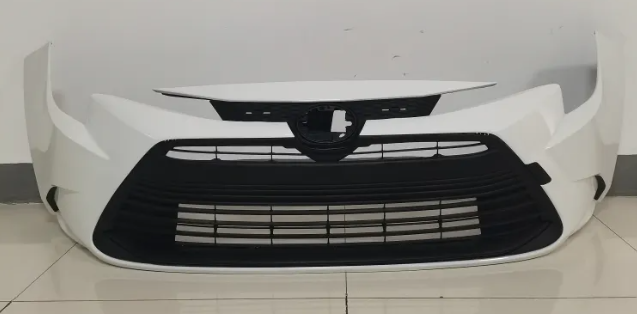
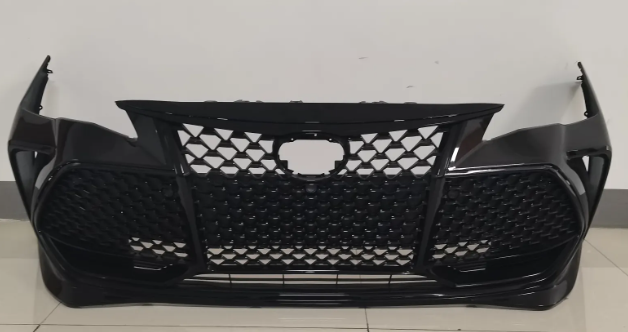
Pro Tip: Make sure to purchase a auto bumper compatible with your car's make and model for an easy installation. Visit our website for high-quality car bumpers that are easy to install.
Step 1: Remove the Old Bumper
Of course, first, you have to remove the old car bumper before you install the new one. If your auto bumper sits low, use a car jack to lift the vehicle. Stabilize the jack stands underneath the car. Double-check if the car is secure before you start working under it.
Often, car models have fog lights and sensors attached to the bumpers. Carefully disconnect these items and their wires before you proceed. Always check the manufacturer's manual to avoid damaging the wiring.
Find out all the screws and bolts that are holding the car bumper in place. Common places that you must check are wheel wells, under the car, and the hood. You already have a socket and screwdrivers to remove them. To move the clips you can use a trim removal tool.
Once you have removed all the fasteners that were holding the auto bumper, it's time to pull it away. It may take a bit of wiggling, but it would come out with little effort.
Pro Tip: Screws and bolts may get displaced and cause you trouble. So it's better to keep them in a container where you can find them easily.
Step 2: Install the New Bumper
Take out the car bumper from its packaging and place it in its position. Align it with the holes where the fasteners will go. It's good to have someone who can assist you in holding the auto bumper while you are attaching it. Reinsert all the bolts and clips that you removed earlier. Make sure that you are inserting all the fasteners in their specific places.
Tighten them using a socket wrench. To get a better alignment, work from the centre and move outwards. Wait! The job isn't done yet. If your car bumper has fog lights and sensors, you have to attach them. Test all the electronic components before you finish up.
Step 3: Finish Up
Stand back and have a thorough look at the alignment of the auto bumper from all angles. It should be flush with the car body without any gaps. Adjust the fasteners if required. It's good to take your car for a short test drive to guarantee that the bumper doesn't rattle or move.
Don't forget to clean the car bumper with a microfibre cloth to remove fingerprints and any residues. Congrats! You are done.
Tips for an Easy Replacement
● Always buy a huge quality bumper that does not wear out in a few days. Buying cheap car bumpers would only add to the cost as they wear out within a few weeks.
● Pre-painted versions of car bumpers are available. To avoid extra work, it's better to buy a bumper of your car color. It would save you from hassle.
● Get high-quality socket wrench and trim removal tools to make your job easier. Cheap tools can affect your bolts badly.
In a Nutshell!
Replacing a car bumper isn't a hard task - you just need basic tech knowledge and 2-3 hours of free time. It also varies depending on the model of your car. If it's your first time, budget out some extra time for unexpected challenges. Though replacing a auto bumper isn't DIY-friendly, in case of severe structural damage, you should seek help from a professional.

PROFESSIONAL AUTO PARTS
CONTACT US
Tel : 0086-519-83502018 / 83243965
Fax : 0086-519-83241796
Mobile : 0086-13706116223 0086-18961226223
Email : jiangsu.cz@xy-tyj.com
If you have any question, please contact us.
A professional auto parts brand since 2007 - TYJ Vehicle Parts